Setup LXC Container with Gitlab

Here is a simple step by step manual to setup an LXC Container with GitLab Community Edition on Ubuntu Server LTS 14.04.
Links:
LXC
Install LXC
sudo apt-get update && apt-get install bridge-utils lxc
Create an LXC Container from a template
lxc-create -t ubuntu -n gitlabLXC
This will create a new Container located under /var/lib/lxc/. Important to note is the default username and password:
# The default user is 'ubuntu' with password 'ubuntu'!
# Use the 'sudo' command to run tasks as root in the container.
List all LXC Containers:
lxc-ls -f
NAME     STATE   IPV4          IPV6 AUTOSTART
-------------------------------------------------------
ELKStack RUNNING 192.168.xx.xx - YES gitlabLXC STOPPED - - NO <-- our new container.
Network configuration
Our Container is not running right now. So we can configure the network first. This can be done in different ways. This is what i have done:
Network config of the Host (/etc/network/interfaces):
# The loopback network interface
auto lo
iface lo inet loopback

auto br0
iface br0 inet static
    bridge_ports em1
    bridge_fd 0
    address 192.168.xx.xx
    netmask 255.255.255.0
    broadcast 192.168.xx.255
    gateway 192.168.xx.xx
dns-nameservers 8.8.8.8 8.8.4.4
more about this => https://help.ubuntu.com/lts/serverguide/network-configuration.html#bridging
or read under “Host device as bridge” => https://wiki.debian.org/LXC/SimpleBridge
Configure the LXC Container network (/var/lib/lxc/gitlabLXC/config):
# Template used to create this container: /usr/share/lxc/templates/lxc-ubuntu
# Parameters passed to the template:
# For additional config options, please look at lxc.container.conf(5)
# Common configuration
lxc.include = /usr/share/lxc/config/ubuntu.common.conf
# Container specific configuration
lxc.rootfs = /var/lib/lxc/gitlabLXC/rootfs
lxc.mount = /var/lib/lxc/gitlabLXC/fstab
lxc.utsname = gitlabLXC
lxc.arch = amd64
# Network configuration
lxc.network.type = veth
lxc.network.flags = up
lxc.network.link = br0
lxc.network.hwaddr = 00:16:3e:0e:d8:af
lxc.network.ipv4 = 192.168.xx.xx/24
lxc.network.ipv4.gateway = 192.168.xx.xx
# Autostart (optional)
lxc.start.auto = 1
lxc.start.delay = 5
lxc.start.order = 103
The ipv4 is your static ip and gateway is your networks gateway (the same as the host uses). change also the link to br0 in reference to your hosts network interface as configured before.
The section Autostart is optional. if you add this lines the LXC Container will start automatically if your host reboots or starts.
Now it’s time to start our “gitlabLXC” Container:
lxc-start -n gitlabLXC -d
Check if the Container runs:
lxc-ls -f
NAME      STATE  IPV4          IPV6 AUTOSTART
-----------------------------------------------------------------------
ELKStack RUNNING 192.168.xx.xx - YES gitlabLXC RUNNING 192.168.xx.xx, 192.168.xx.xx - YES
Yes the Container is running… but there are two IP addresses?
This is because of the bridged network and the standard configuration of the LXC “ubuntu” templates. The network interface in the LXC itself is set to DHCP. So the Container received a second IP address. This is easy to fix. Login to the Container:
lxc-console -n gitlabLXC -e q
With this command you will receive the Login from the LXC Container:
Ubuntu 14.04.4 LTS gitlabLXC tty1 gitlabLXC login:

You can logout/switch back to the host with this:
Type <Ctrl+q q> to exit the console, <Ctrl+q Ctrl+q> to enter Ctrl+q itself
ok so now login with ubuntu/ubuntu and type:
ubuntu@gitlabLXC:~$ sudo vim /etc/network/interfaces
you will be asked fot the pw and after entering you can edit the interface config like this:
# and how to activate them. For more information, see interfaces(5).
# The loopback network interface
auto lo
iface lo inet loopback

auto eth0
iface eth0 inet manual
Just change dhcp to manual and save the file and close it. Switch back to the host by typing “Ctrl+q” and again “q”. Now you should have the prompt from the host again. To stop and start the LXC type:
lxc-stop -n gitlabLXC
lxc-start -n gitlabLXC -d
check if everything is ok:
# lxc-ls -f
NAME     STATE   IPV4          IPV6 AUTOSTART
--------------------------------------------------------
ELKStack RUNNING 192.168.xx.xx - YES gitlabLXC RUNNING 192.168.xx.xx - YES
Perfect!
Login to install GitLab
Now we install Gitlab in the gitlabLXC Container. First you have to login again. You can now use SSH or also the lxc-console command. SSH works because the “ubuntu” template has a openssh server already setup. Do the following:
ssh ubuntu@192.168.xx.xx
The authenticity of host '192.168.xx.xx (192.168.xx.xx)' can't be established. ECDSA key fingerprint is xx:xx:xx:xx:xx:. Are you sure you want to continue connecting (yes/no)? yes
Warning: Permanently added '192.168.xx.xx' (ECDSA) to the list of known hosts. ubuntu@192.168.xx.xx's
password:
Welcome to Ubuntu 14.04.4 LTS (GNU/Linux 4.2.0-42-generic x86_64)
* Documentation: https://help.ubuntu.com/
Last login: Thu Aug 4 19:36:52 2016
ubuntu@gitlabLXC:~$ sudo su
[sudo] password for ubuntu:
First update and upgrade ubuntu:
apt-get update && apt-get upgrade
Paketlisten werden gelesen... Fertig
Abhängigkeitsbaum wird aufgebaut. Statusinformationen werden eingelesen.... Fertig
Paketaktualisierung (Upgrade) wird berechnet... Fertig
Die folgenden Pakete werden aktualisiert (Upgrade):
apt apt-utils base-files dpkg gcc-4.8-base initramfs-tools initramfs-tools-bin isc-dhcp-client isc-dhcp-common klibc-utils language-pack-de language-pack-de-base language-pack-en language-pack-en-base libapt-inst1.5 libapt-pkg4.12 libc-bin libc6 libdrm2 libexpat1 libklibc libpcre3 libssl1.0.0 libstdc++6 libtasn1-6 lsb-base lsb-release multiarch-support openssh-client openssh-server openssh-sftp-server ssh tzdata
33 aktualisiert, 0 neu installiert, 0 zu entfernen und 0 nicht aktualisiert.
Es müssen 17.3 MB an Archiven heruntergeladen werden.
Nach dieser Operation werden 642 kB Plattenplatz zusätzlich benutzt.
Möchten Sie fortfahren? [J/n] J
GitLab Setup
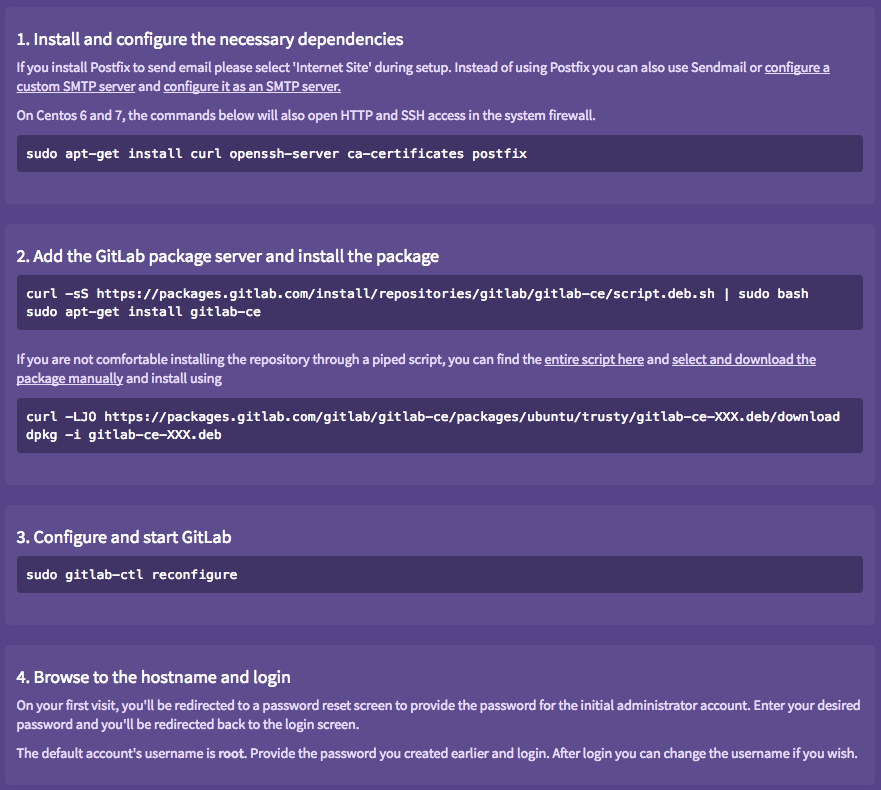
Setup Gitlab following this guide: https://about.gitlab.com/downloads/#ubuntu1404
Step 1
apt-get install curl openssh-server ca-certificates postfix
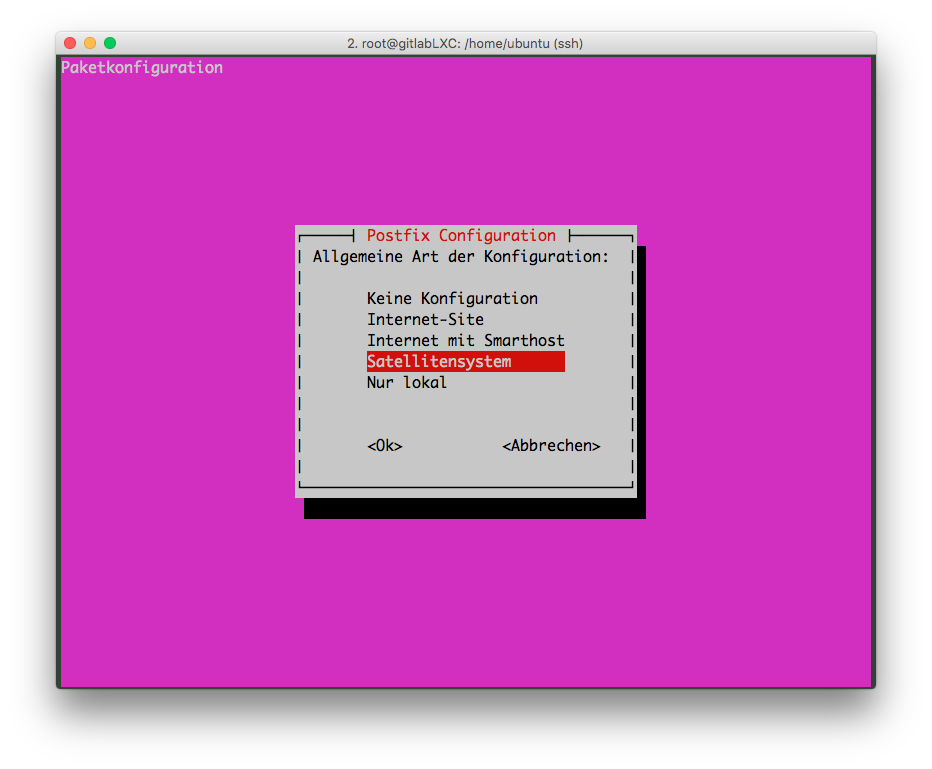
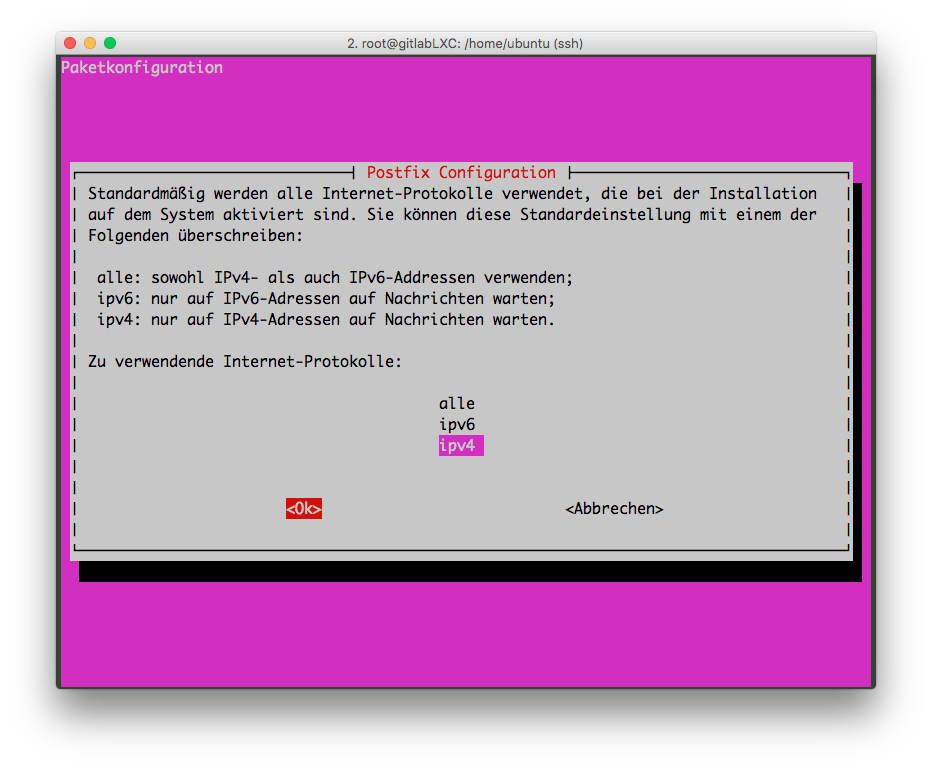
Setup Postfix can be a tricky. I’ve setup a satellite system:
Step 2
curl -sS https://packages.gitlab.com/install/repositories/gitlab/gitlab-ce/script.deb.sh | sudo bash sudo apt-get install gitlab-ce
Step 3
gitlab-ctl reconfigure
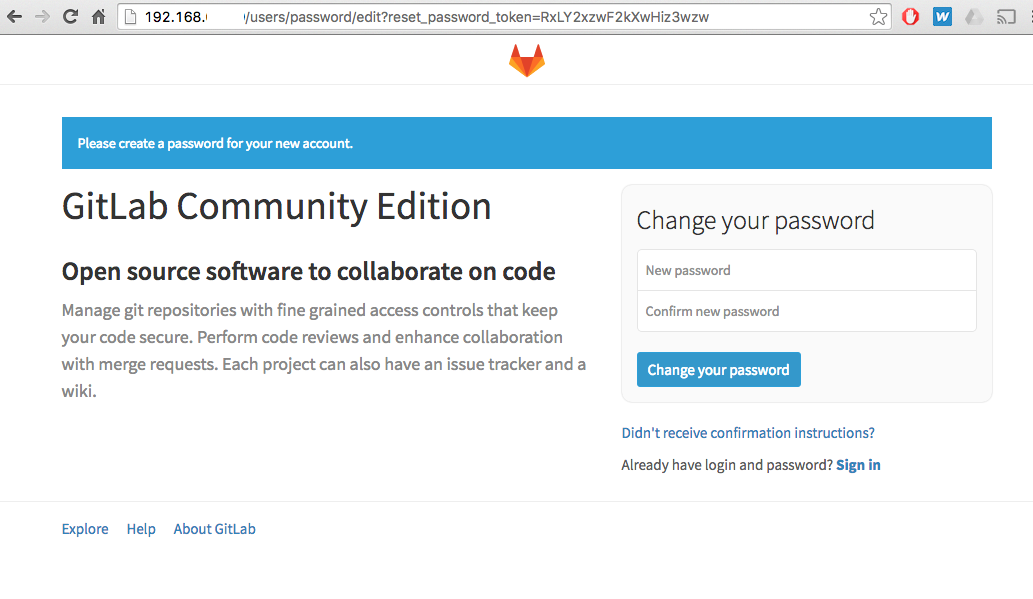
Then you open your Browser and connect to the gitlabLXC IP and …. voilà:
For further informations follow this documentation: http://docs.gitlab.com/omnibus/
You have now setup a LXC Container running GitLab CE.
If you want to limit memory usage of a containers or just learn more about the usage you may read this page: https://help.ubuntu.com/lts/serverguide/lxc.html
There might be some stuff i’ve missed in this guide. Please write me if something is not accurate.


